Find out how to create preloaded bids for your services at the shop
The BidClips Provider Portal gives you the ability to utilize bid templates to quickly and efficiently create bids for your service requests. Bid templates are created for a particular shop and can be associated with one or more of your shop's services.
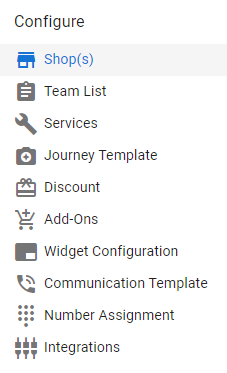
You will start the process of adding a bid template by clicking on the "Shop(s)" link in the Configure section of the Provider Portal navigation bar that is located on the left side of the screen.
This will bring you to the Shop Information page of the Provider Portal as shown below.
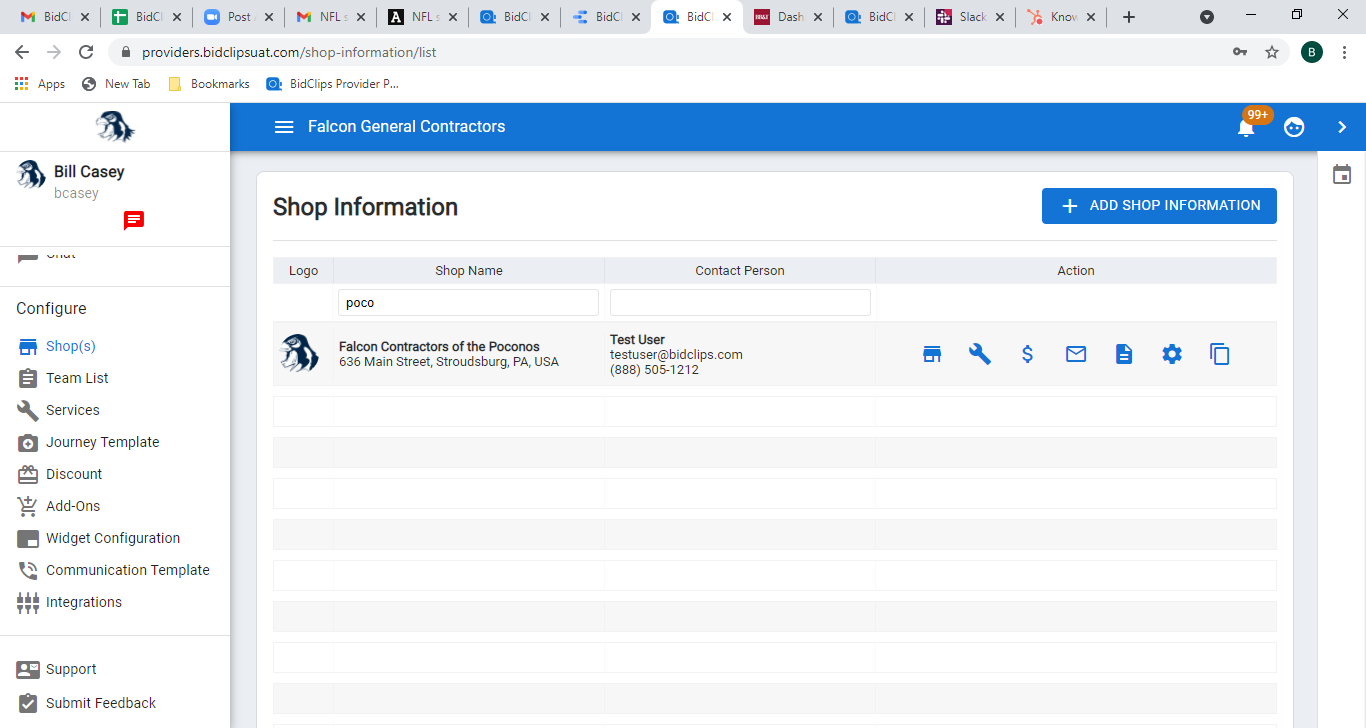
Next, you will click on the template ( ) icon in the 'Shop Information' page and will be redirected to the 'Bid Template' list page:
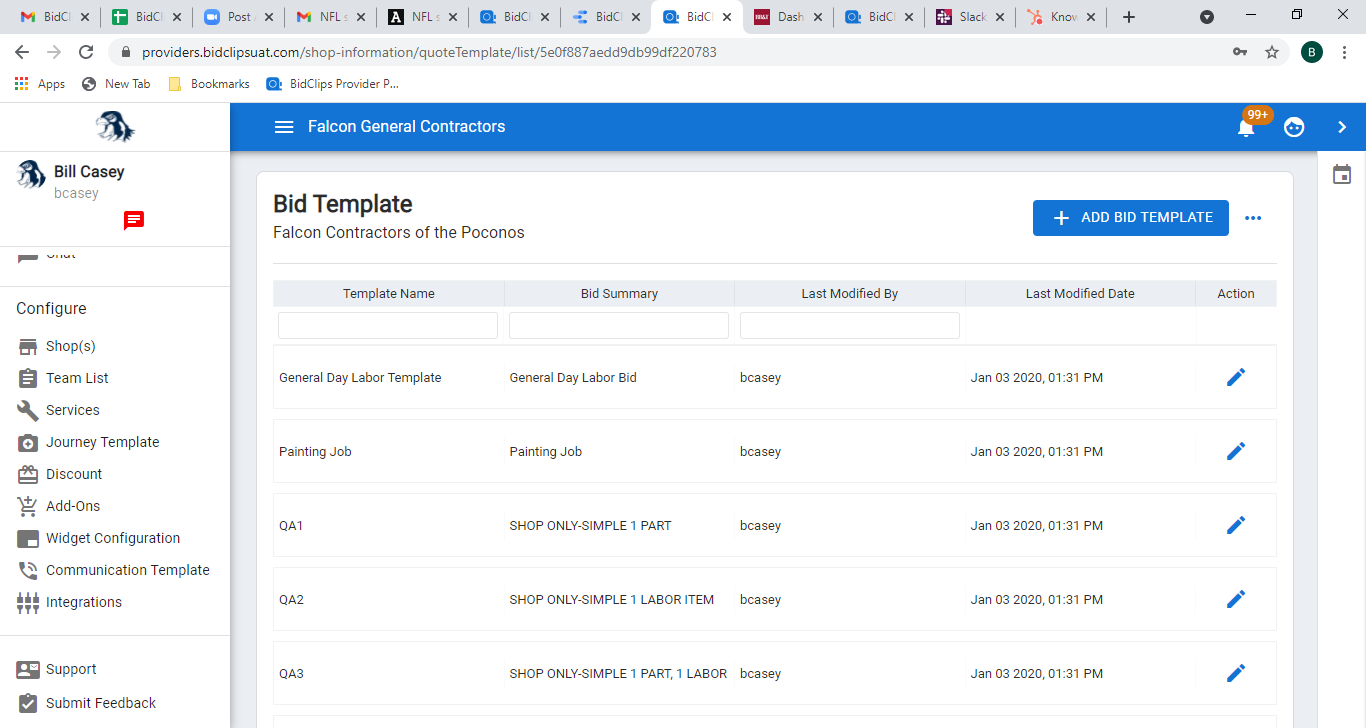
Click the '+ ADD BID TEMPLATE' button.
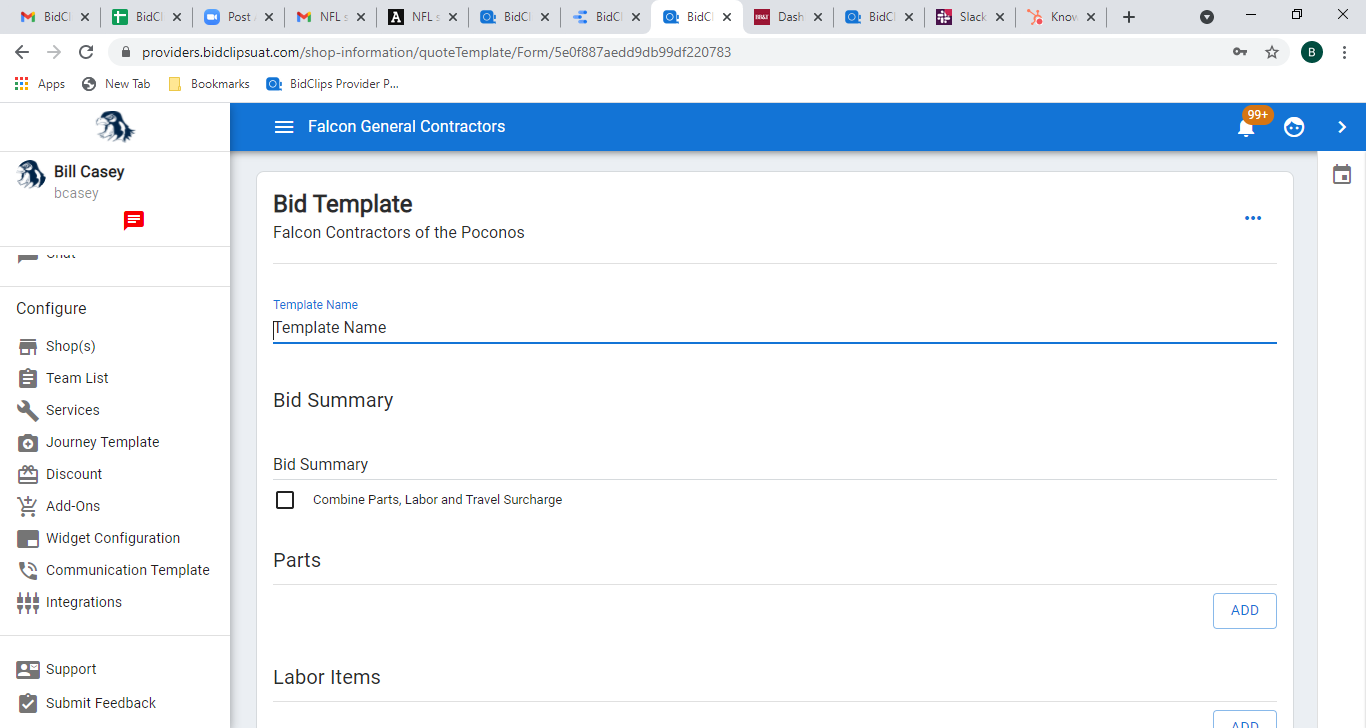
Template Name
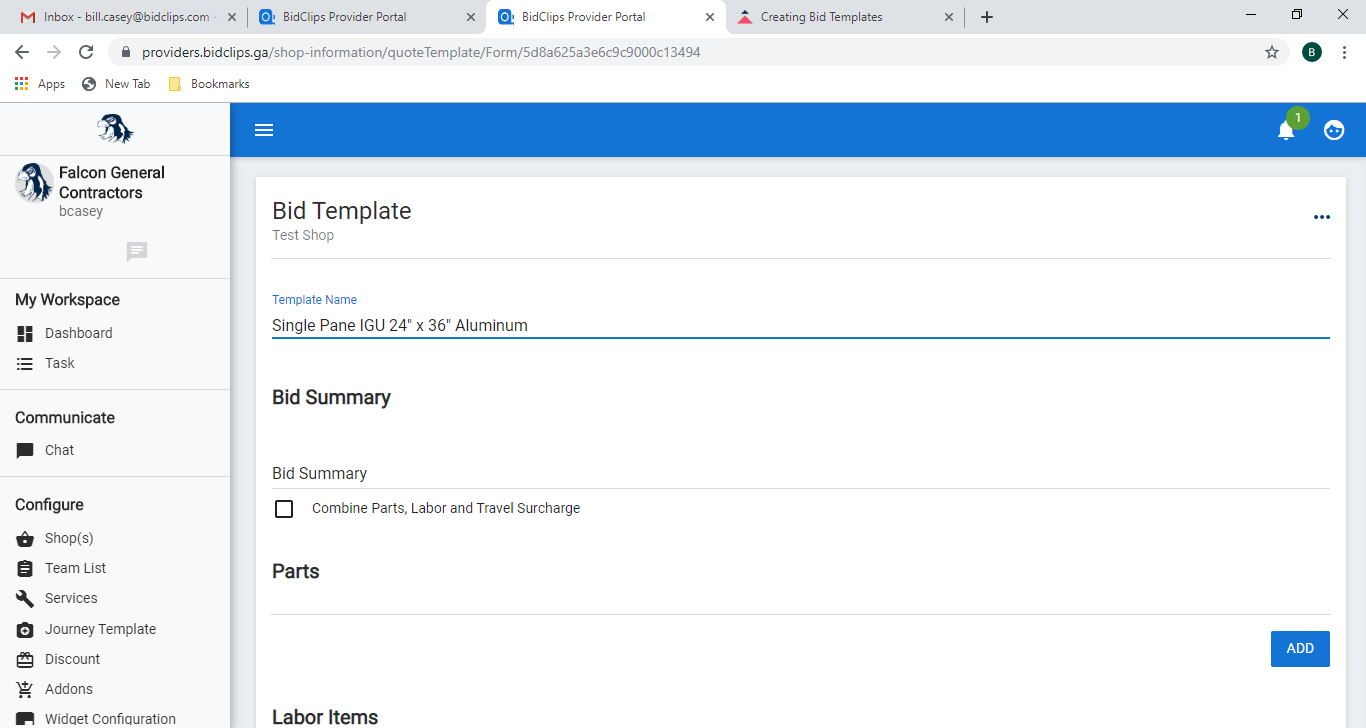
Click in the 'Template Name' field and give your new template a descriptive name. The example shown below will demonstrate how to create a bid template for a variation of Broken Window or Foggy Window service requests and will be using a Single Pane IGU 24" x 36" Aluminum template name.
Once you have provided a Template Name, you will proceed with many of the steps that you would execute when creating any bid in BidClips. You will give the template a Bid Summary name; specify whether you want to combine parts, labor, and travel charges; add parts and/or labor; apply any desired discounts and/or add-ons; specify where the service can be performed; include any desired customer messages; and specify job reservation payment options. Note: Profit margin, parts/labor cost distribution, and travel surcharge options are not able to be specified in a Bid Template, they are always derived from global shop settings or individual service offering overrides when specified.
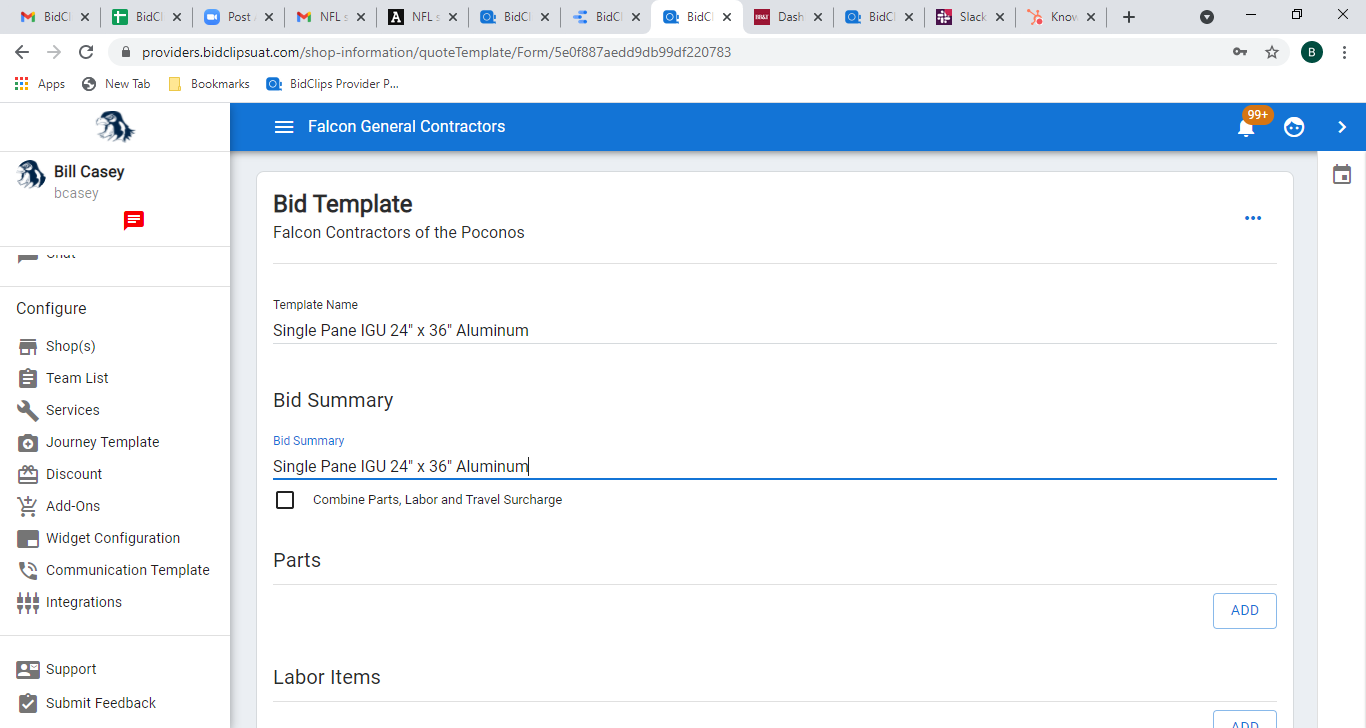
Bid Summary
Every bid in BidClips must have a Bid Summary so you will need to specify a bid summary when creating a bid template. For simplicity sake, the example shown here will have a Bid Summary that is the same as the Template Name-Single Pane IGU 24" x 36" Aluminum.
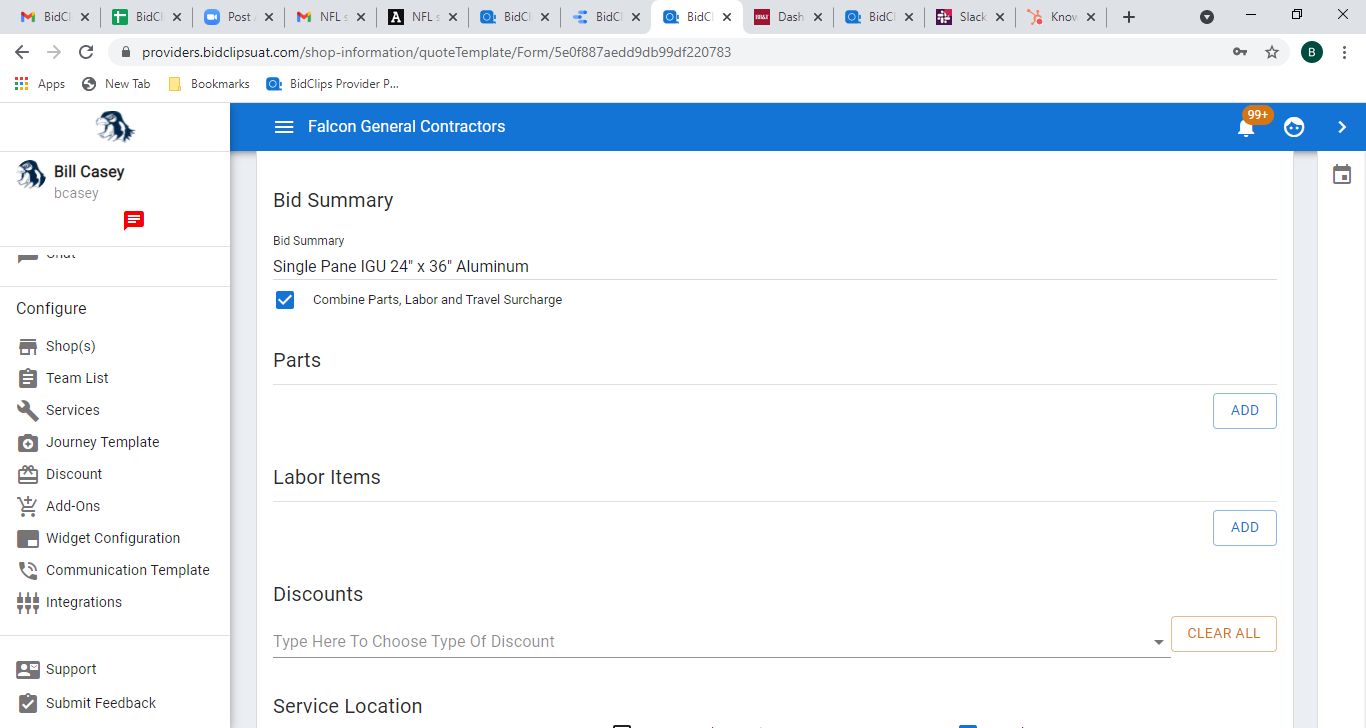
Combine Parts, Labor and Travel Surcharge
The combine parts, labor and travel surcharge option, if selected, will prevent a breakdown of parts, labor and travel from being displayed to your customer when they receive a bid. Instead, your customers will only see an installed price and associated tax amount. A more detailed description of this option is described in the Create a New Bid help center article. For this example, the combine parts, labor and surcharge option will be selected for demonstration purposes.
 .
.
Parts
Here you will add all of the parts necessary to complete a service request to your Bid Template Note: The part must have already been created for your shop to be added to a Bid Template. In this example, we will demonstrate how to add two parts-an IGU glass pane and adhesives to a Bid Template Click the 'ADD' button under the parts section to add parts to the Bid Template.

Click on the 'Part No.' field and either select the part from the drop-down list if it appears or start typing a part name in the field.
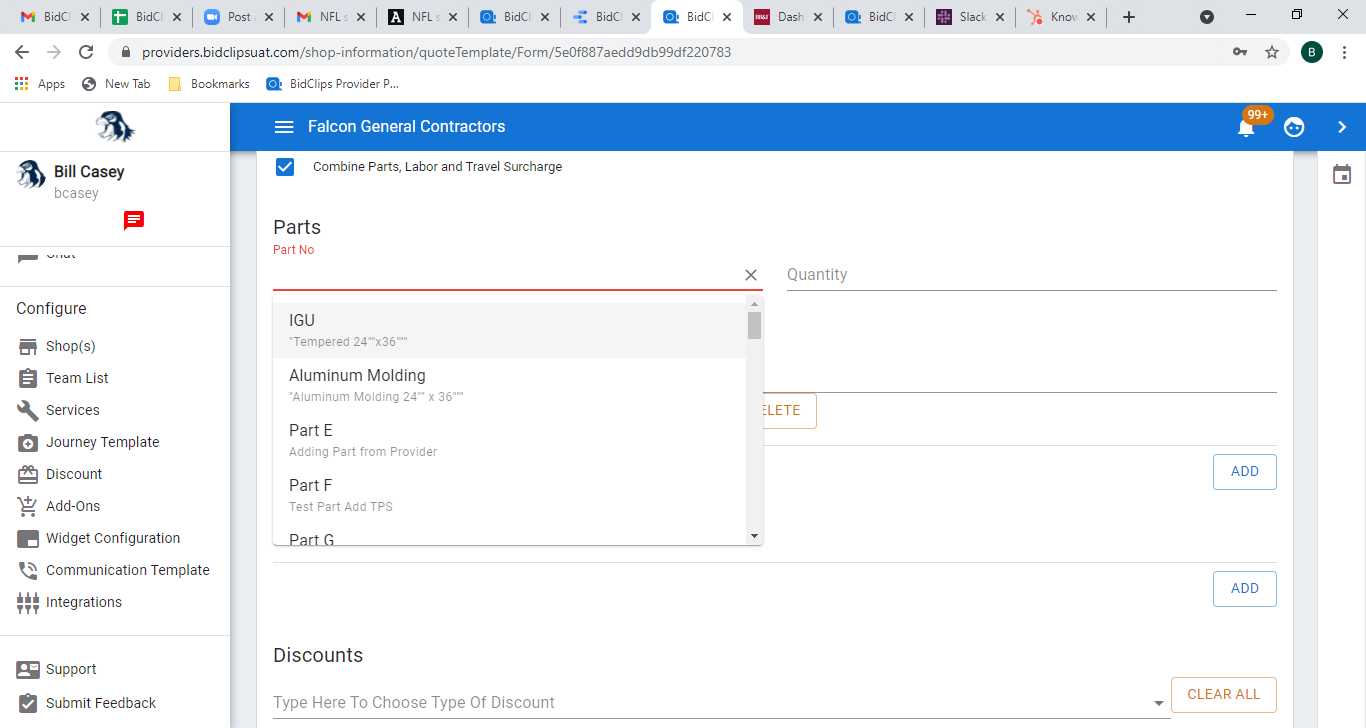
Once you see the appropriate part to be added to the template, click on it. You will notice that the existing part description will also be imported into the template when the part has been selected. The example shown below will first apply the IGU part.
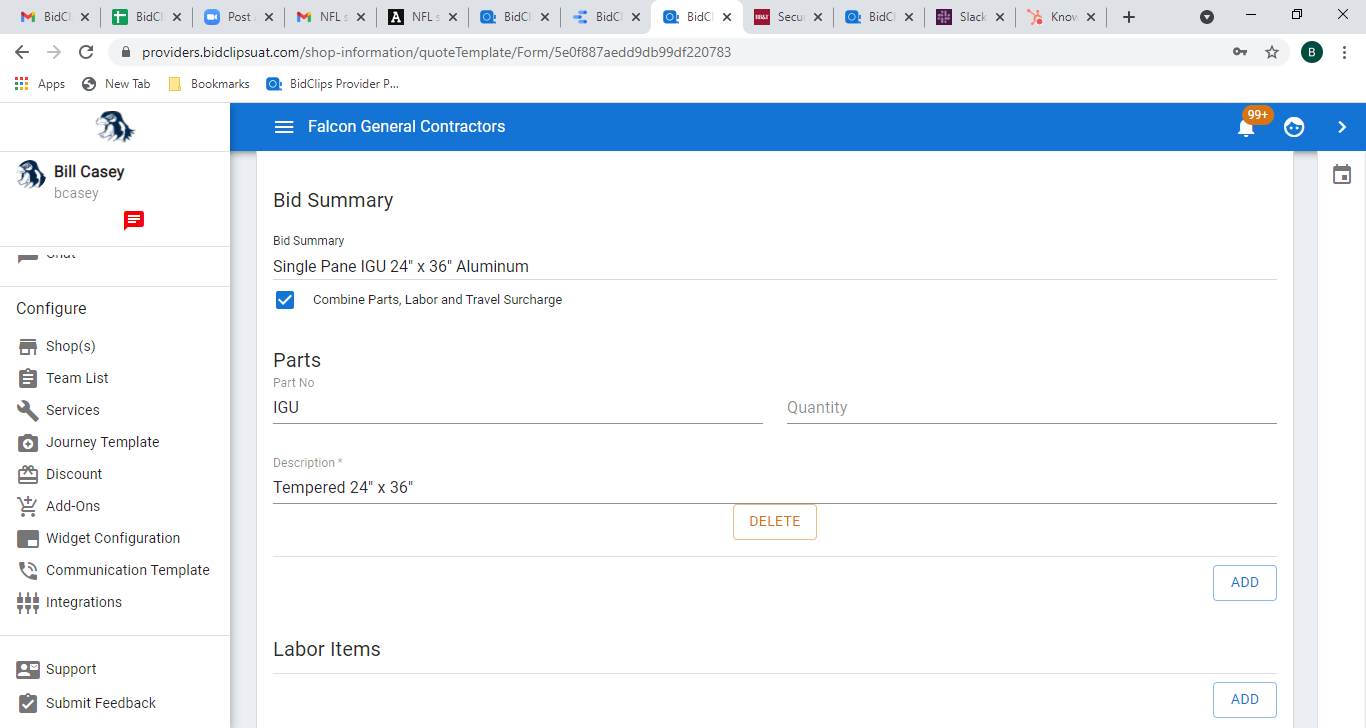
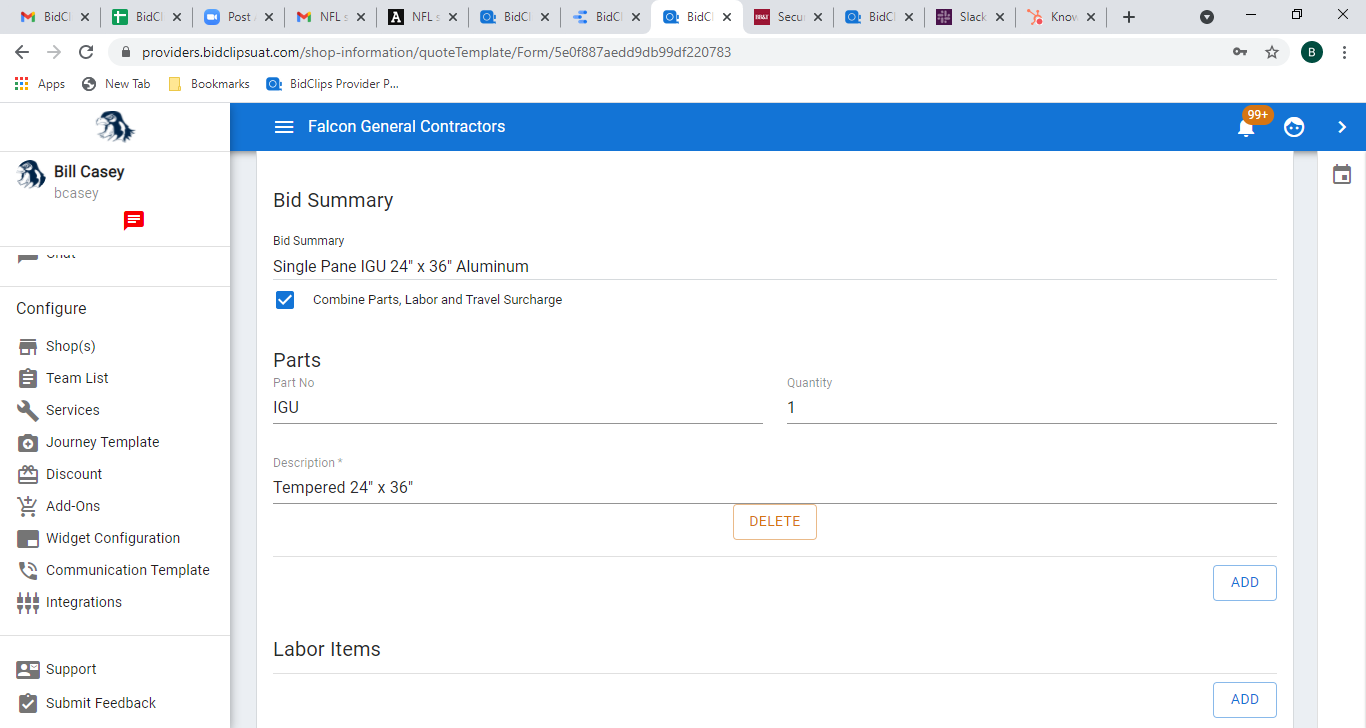
Next, you will click in the 'Quantity' field and enter the desired quantity. This example uses a quantity of '1'.
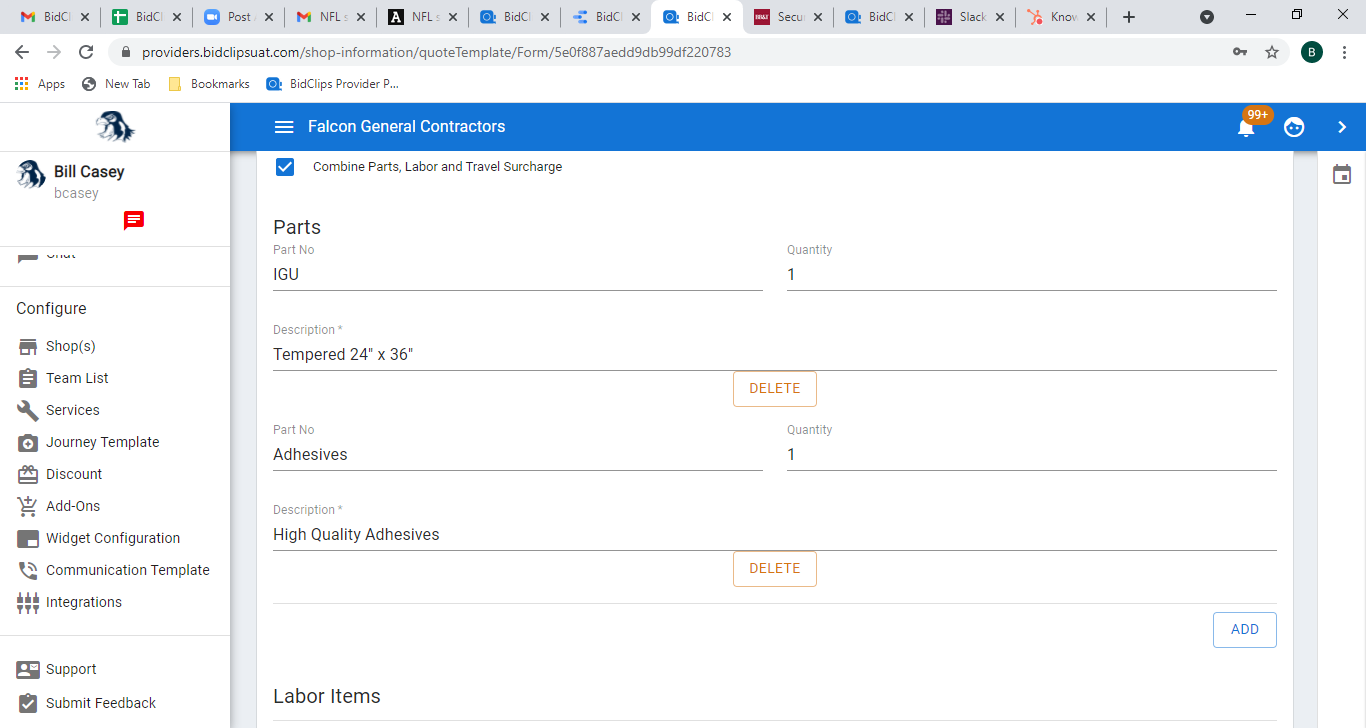
You can add as many parts you would like to the Bid Template. If at any time you want to remove a part from the Bid Template, simply click the 'DELETE' button that is located just below the part description. This example shows one additional part-Adhesives-being added to the Bid Template.
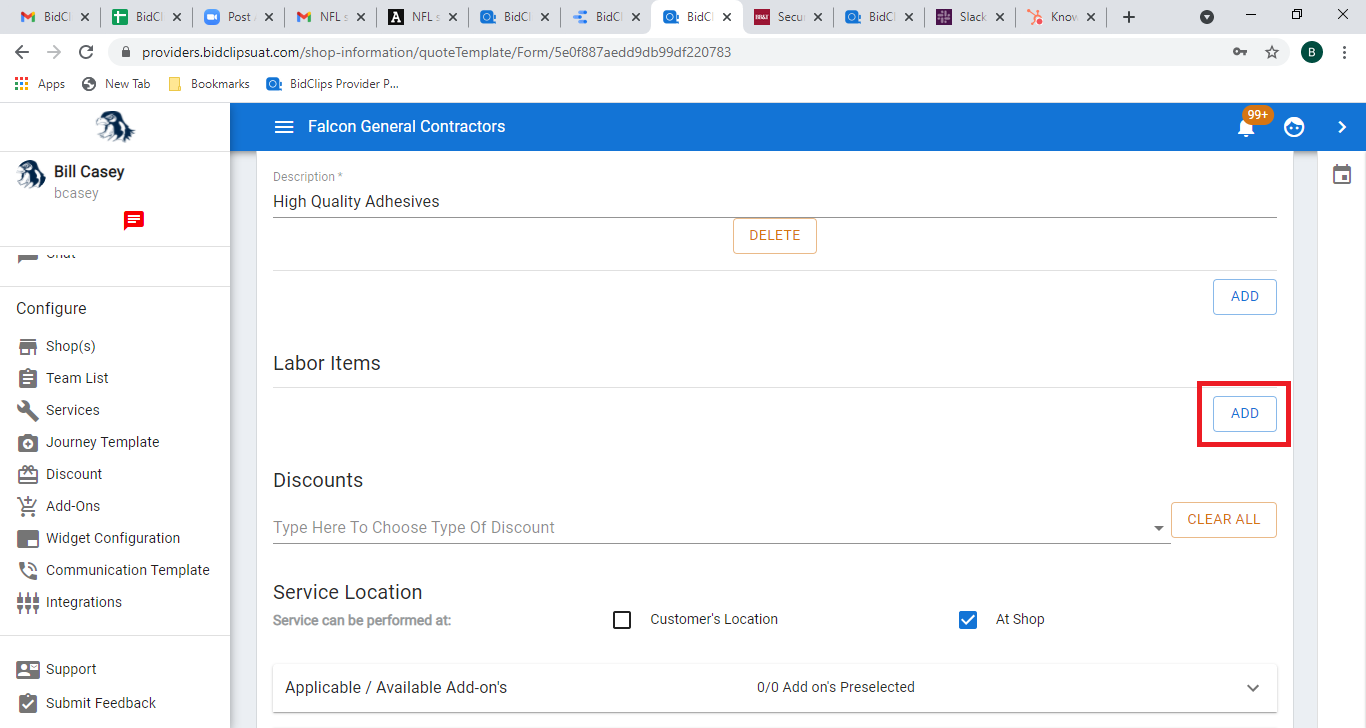
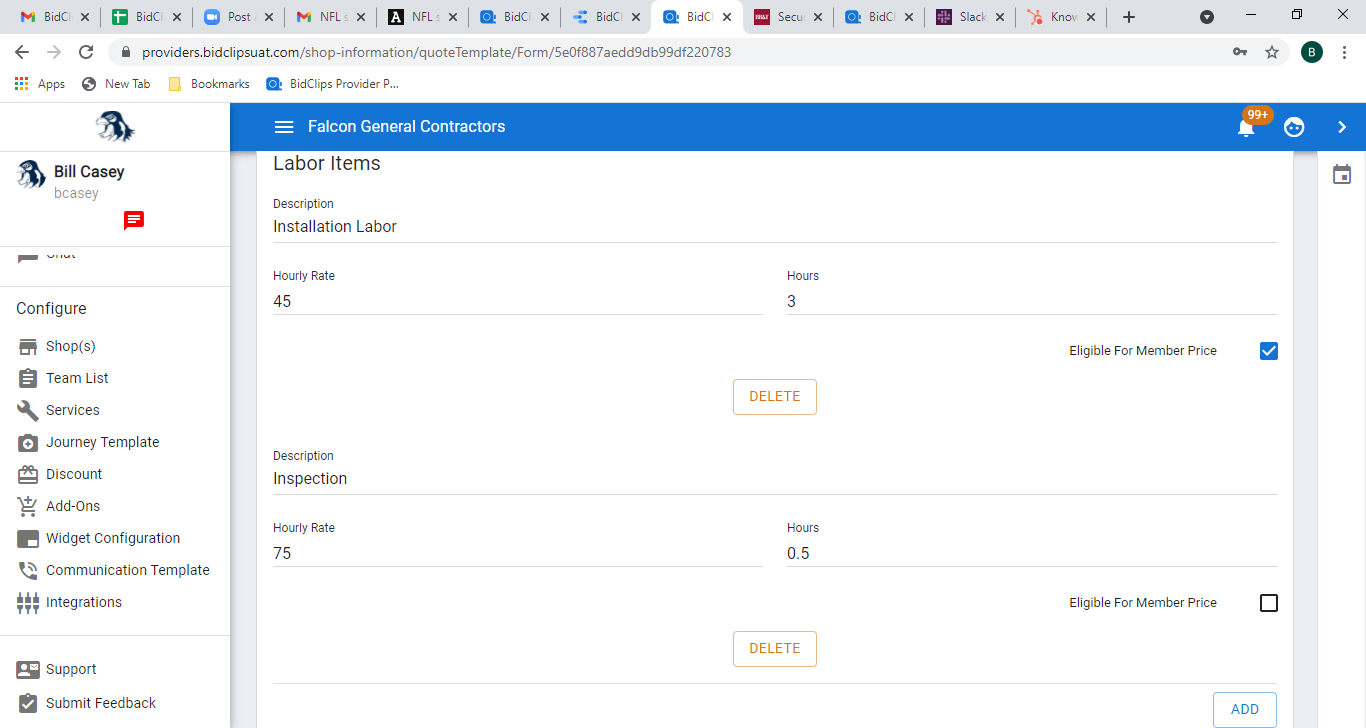
Labor Items
Next, you will add any labor items you wish to include in your Bid Template In this example, we will demonstrate the addition of two labor items-three (3) hours of installation labor at $45 per hour and one half (0.5) hours for an inspection at $75 per hour-to a Bid Template Click the 'ADD' button to add labor items to the Bid Template.
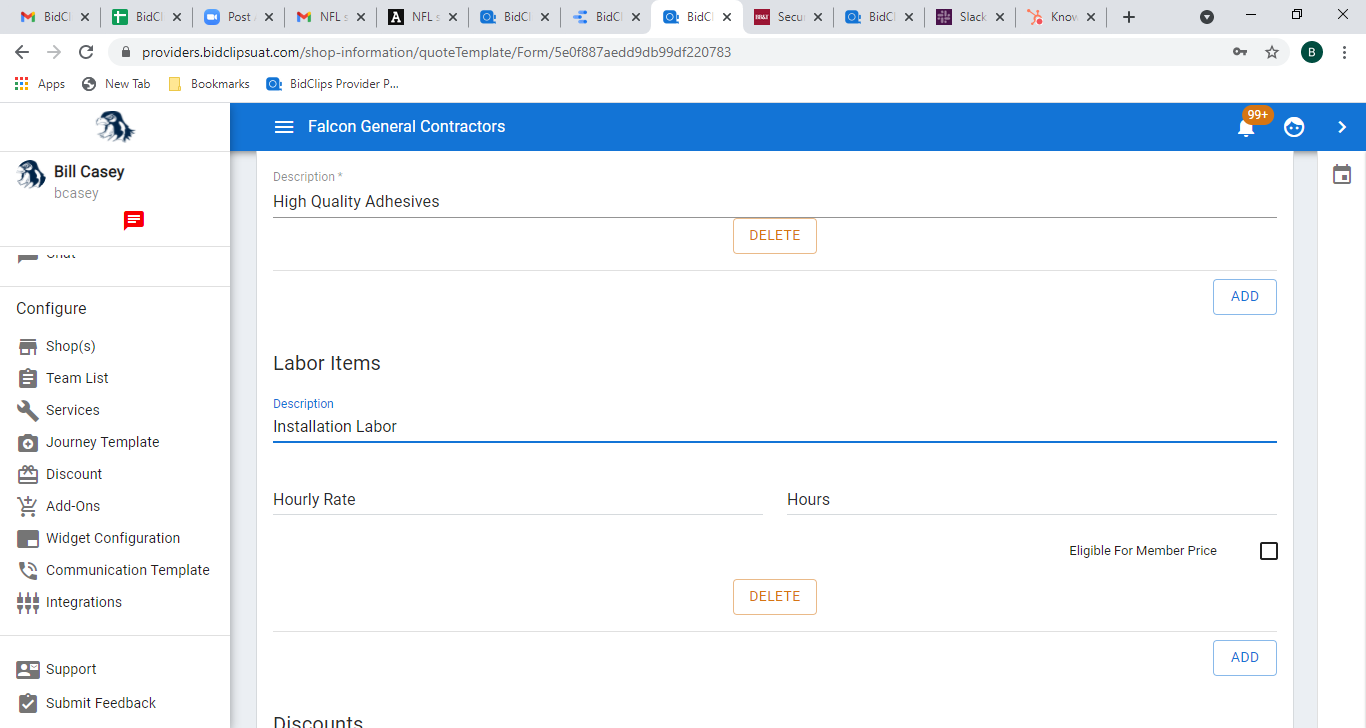
Click on the 'Description' field and enter a description for your labor item. This example shows the addition of Installation Labor.
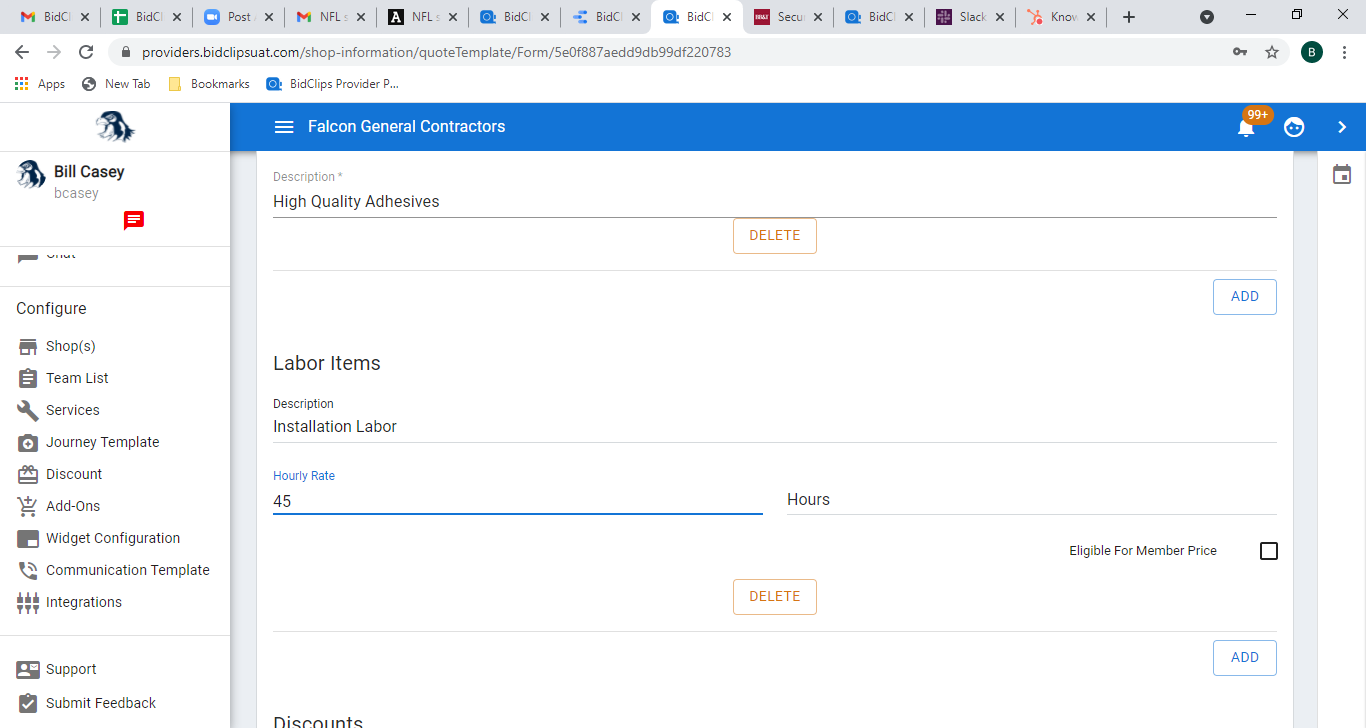
Next, you will click in the 'Hourly Rate' field and enter the desired labor rate. This example uses a quantity of '45'.
Next, you will click in the 'Hours' field and enter the desired number of hours for this labor item. This example uses a quantity of '3'.
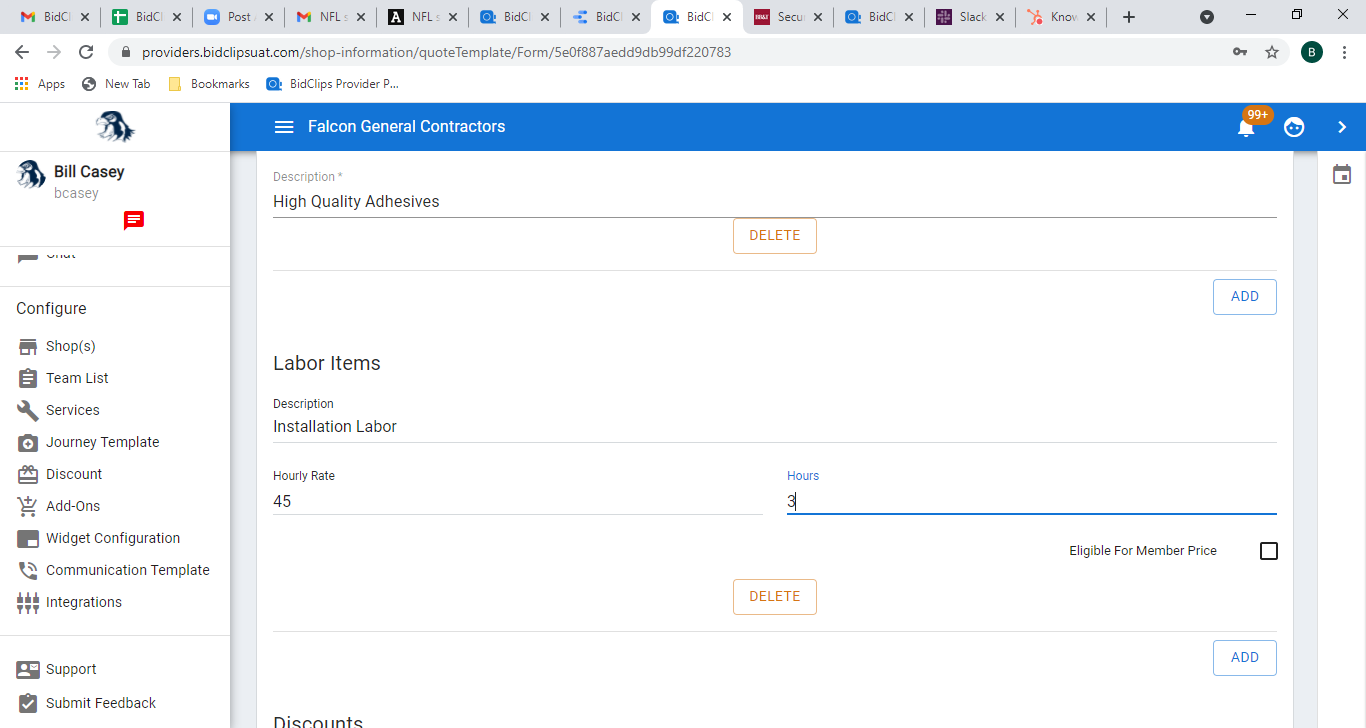
Finally, you will select whether this labor item is eligible for member pricing or not. Selecting the 'Eligible for member price' check box here will make this labor item subject to a membership pricing discount should one be applied to the Bid Template. To learn more about membership pricing and discounts in general within the BidClips platform, click here. For this example, the eligible for member price option will be selected for demonstration purposes.

You can repeat the previous steps to add as many labor items you would like to add to the Bid Template. If at any time you want to remove a labor item from the Bid Template, simply click the 'DELETE' button that is located just under the part. This example shows one additional labor item-a 0.5 hour of Inspection labor at $75 per hour that is not eligible for membership pricing-being added to the Bid Template.
Discounts
You are able to apply any of the discounts that have already been created for your provider to the Bid Template. This example will show the addition of two discounts-Membership Pricing and a 5% discount on parts-to a Bid Template.
Click on the 'Type here to choose type of Discount' field and either select the discount from the drop-down list if it appears or start typing a discount name in the field.
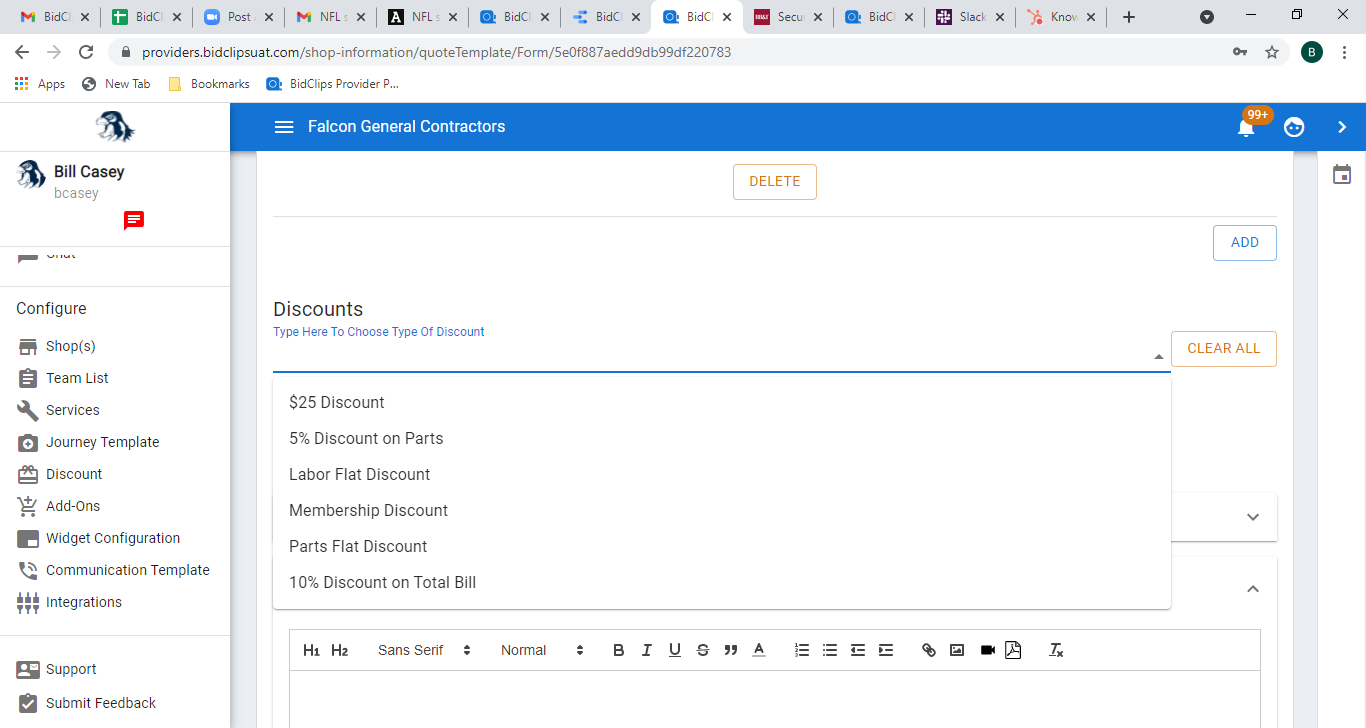
Once you see the appropriate discount to be added to the template, click on it. The example shown below will first apply the Membership Discount option.
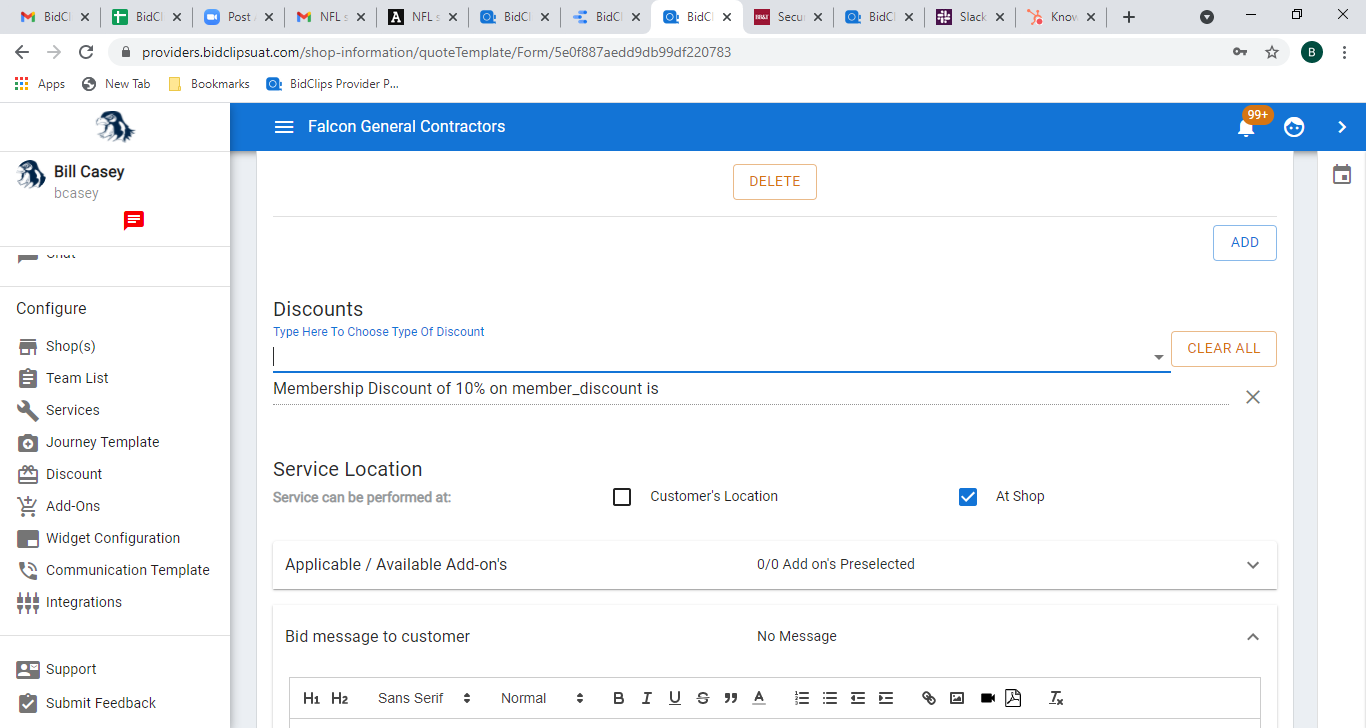
You can repeat the previous step to add as many discounts you would like to add to the Bid Template. If at any time you want to remove a discount from the Bid Template, simply click the 'X' button located at the far right hand side of the individual discount line. This example shows one additional discount-a 5% discount on parts-being added to the Bid Template.
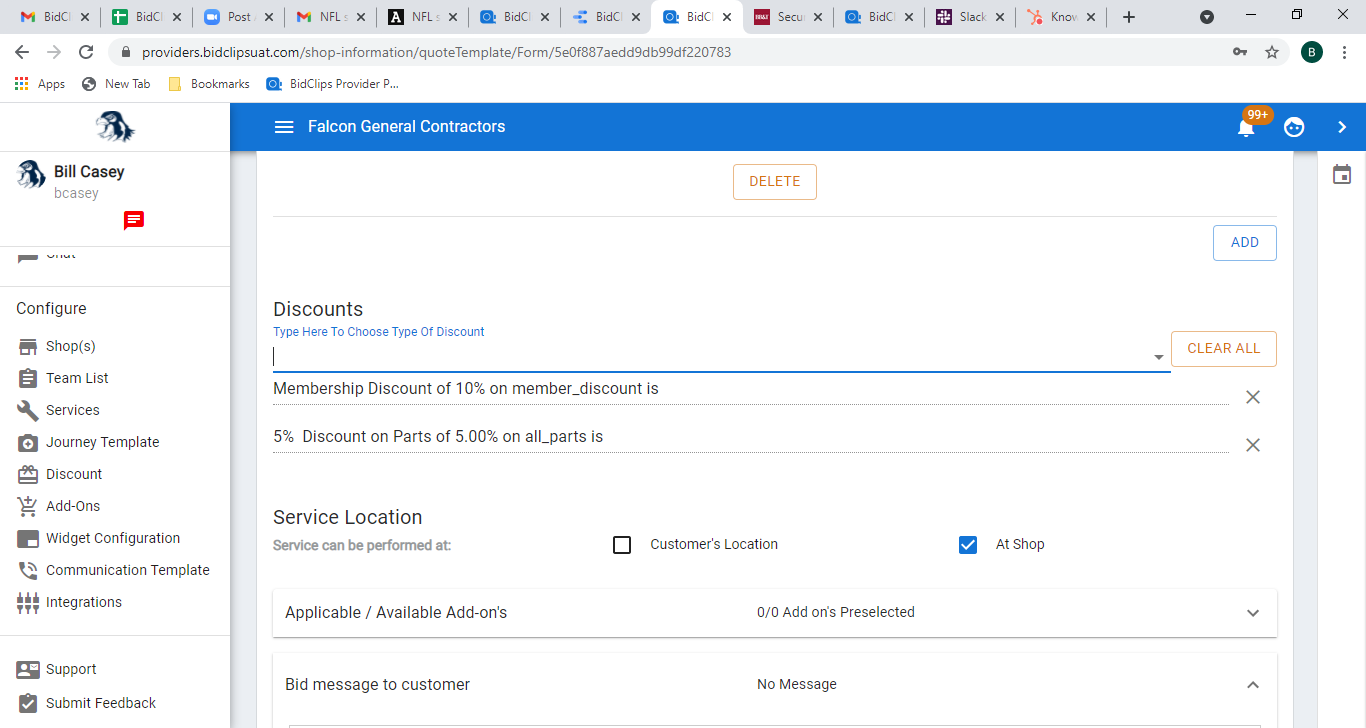
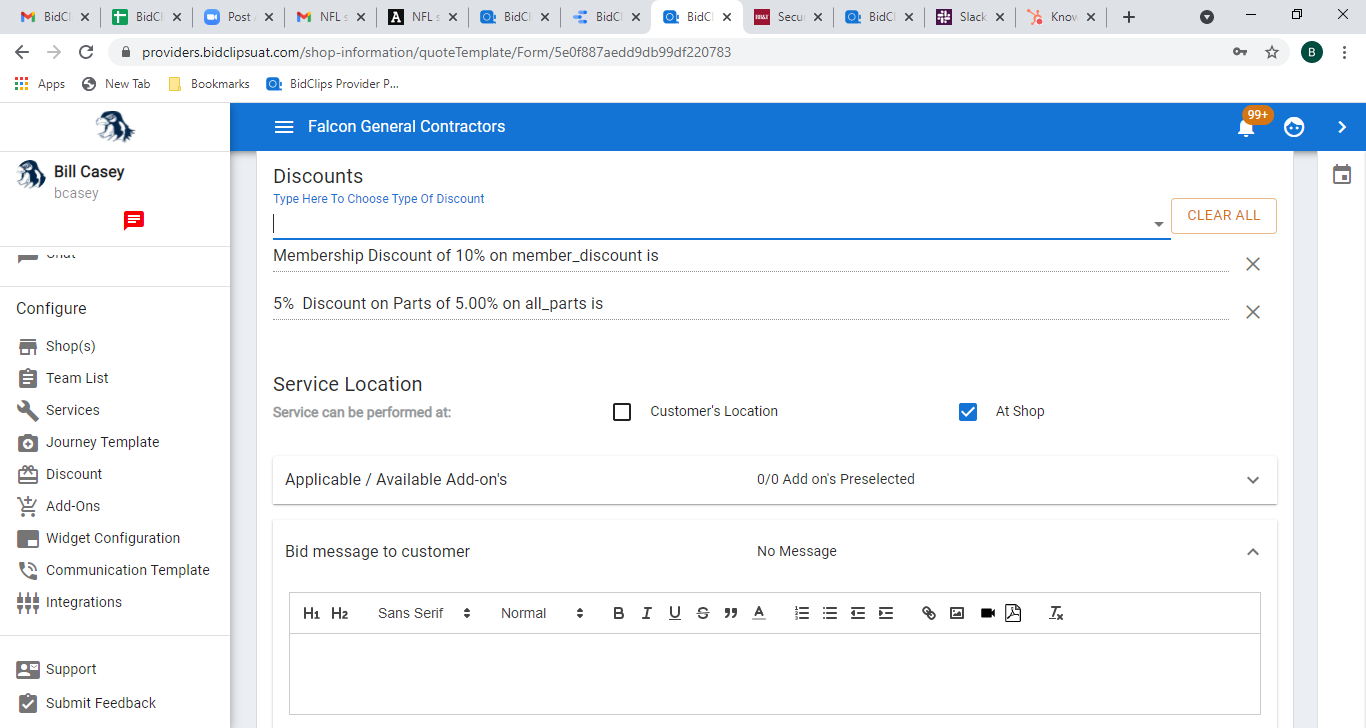
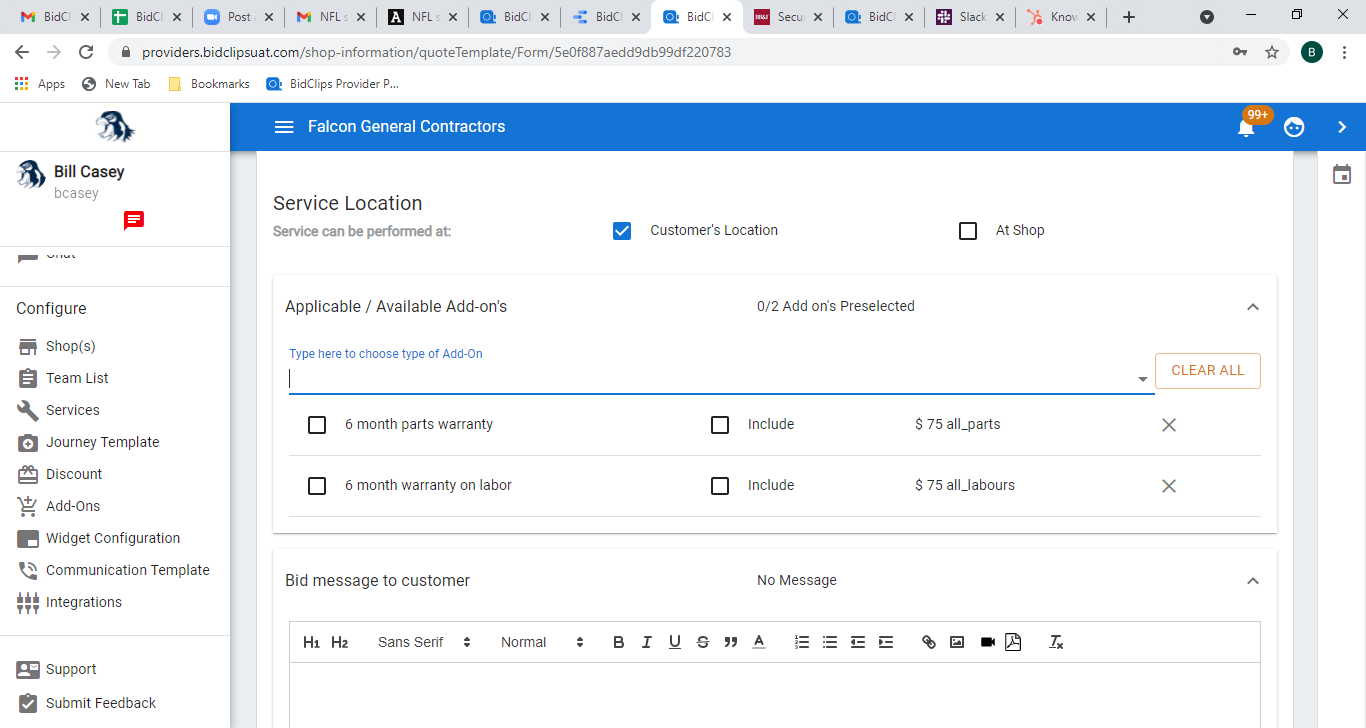
Service Location
You are able to specify whether the service can be performed at the shop only, the customer's location only, or both the shop and customer location in this section. The default option will be service at the shop only when you first create the Bid Template as shown below:
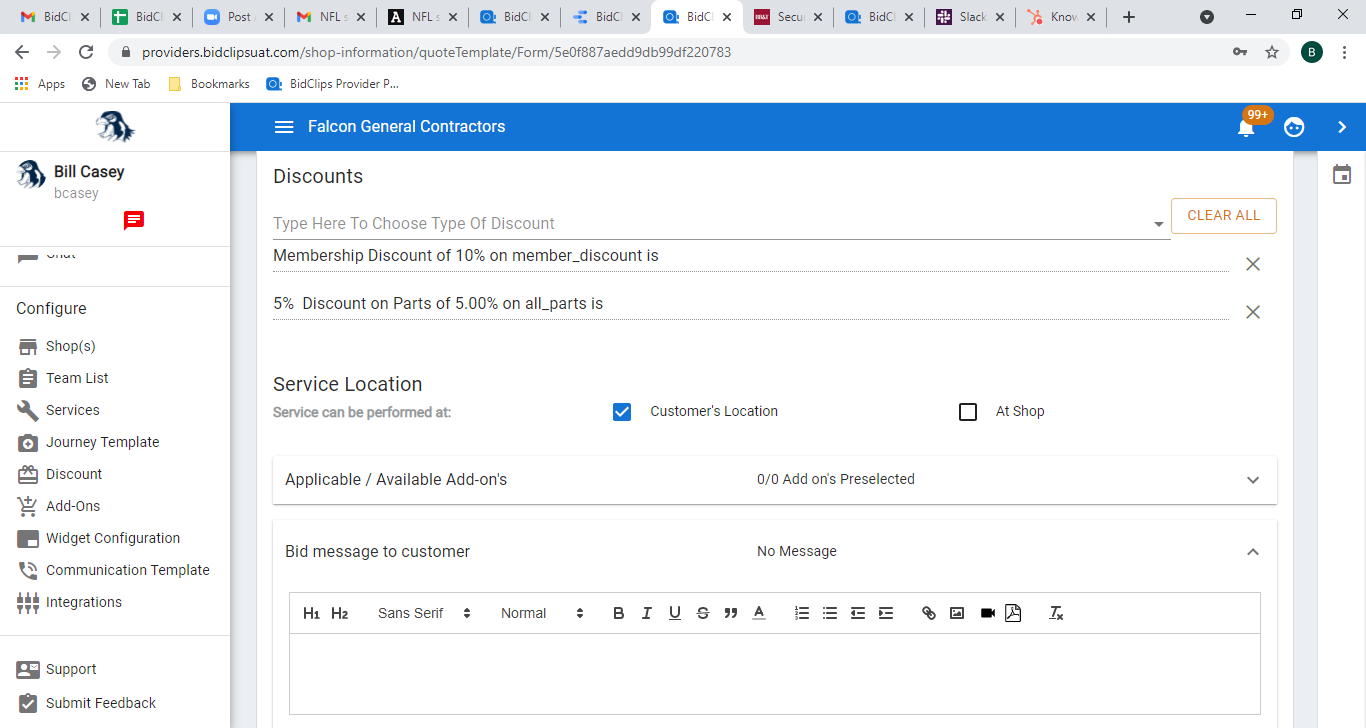
This example shows how you would change the Bid Template to have service available at the customer's location only. To do so, you would deselect the 'At Shop' check box and select the 'Customer's Location' check box.
Add-Ons
Just as you were able to apply discounts to the Bid Template, you are also able to apply any of the add-ons you have created for your provider to the Bid Template. This example will show the addition of two add-ons--a 6 month parts warranty and a 6 month labor warranty-to a Bid Template.
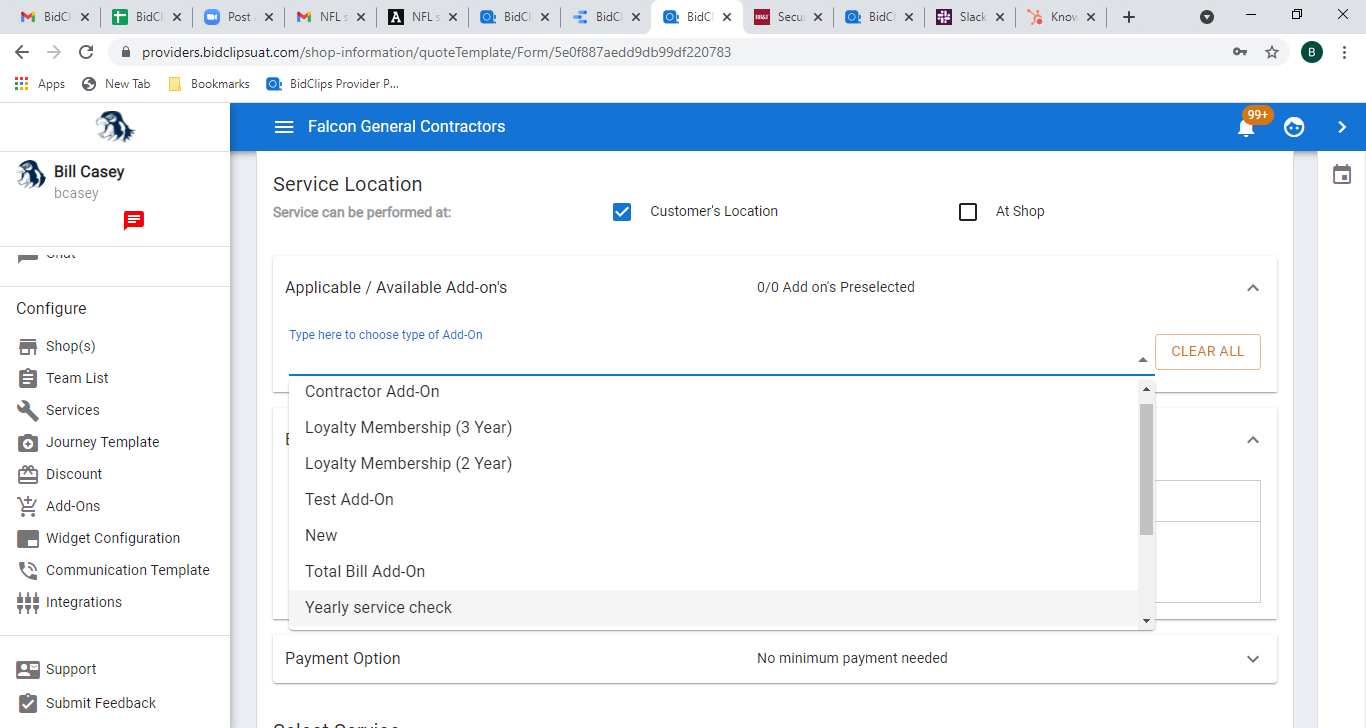
Click on the 'Type here to choose type of Addon' field and either select the add-on from the drop-down list if it appears or start typing an add-on name in the field.
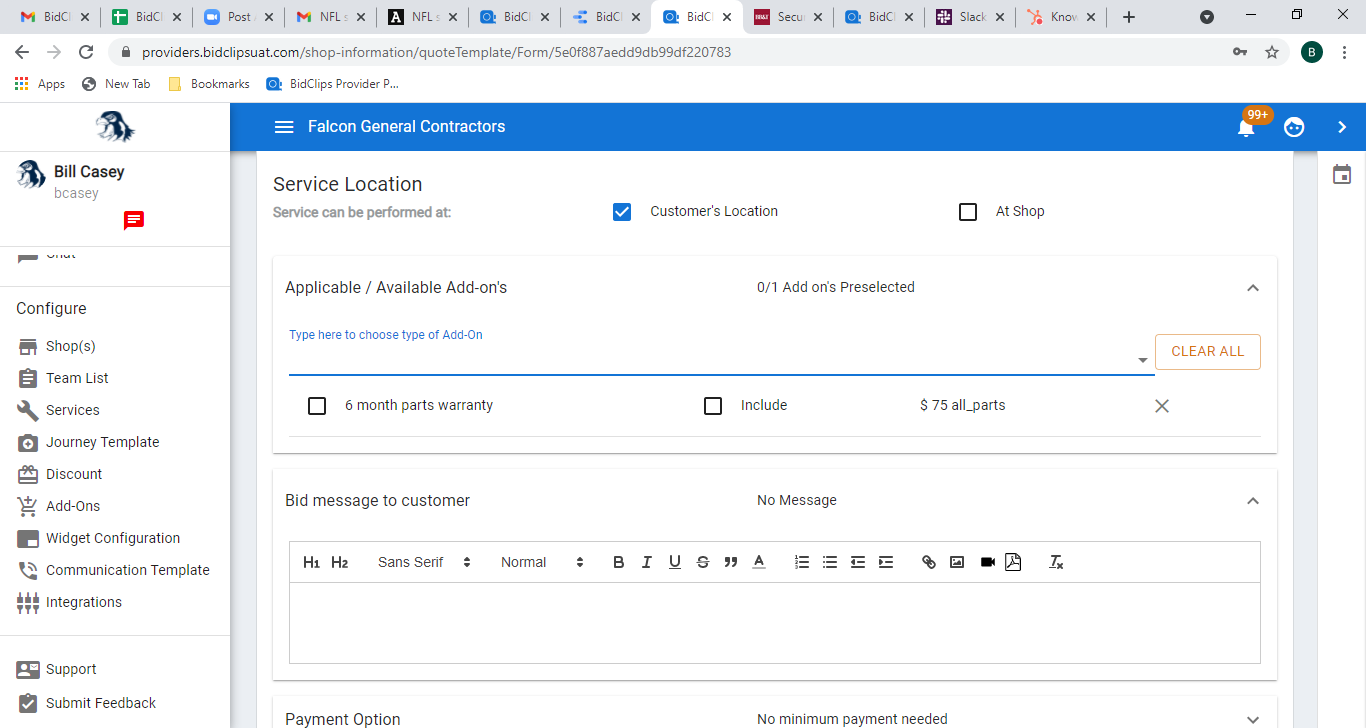
Once you see the appropriate add-on to be included in the template, click on it. The example shown below will first apply the 6 months parts warranty option.
You can repeat the previous step to include as many add-ons you would like. If at any time you want to remove an add-on from the Bid Template, simply click the 'X' next to the add-on line item. This example shows one additional add-on-the 6 month labor warranty-being included in the Bid Template.
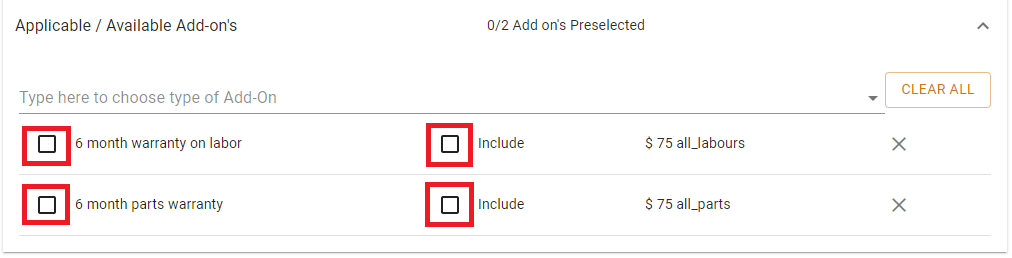
BidClips gives you some additional flexibility when it comes to applying Add-Ons to your bid templates. You can offer the add-on to your customers as an option they can select when reviewing and accepting their bid. In this case, the add-on is not included in the bid when it is first delivered to the customer. They would have to select the add-on when reviewing the bid. This option would be reflected by having both of the checkboxes in the included add-ons unchecked:
 Alternatively, you could preselect the add-on so that it is included in the bid that is sent to the customer or even offer the add-on as free feature to the customer. Both of these options are discussed below.
Preselecting an Add-On
Using the example outlined in this article, suppose you want to include the 6 month parts warranty in the price for all of the bids you will create with the bid template. You can do this by checking the box to the left of the add-on name.
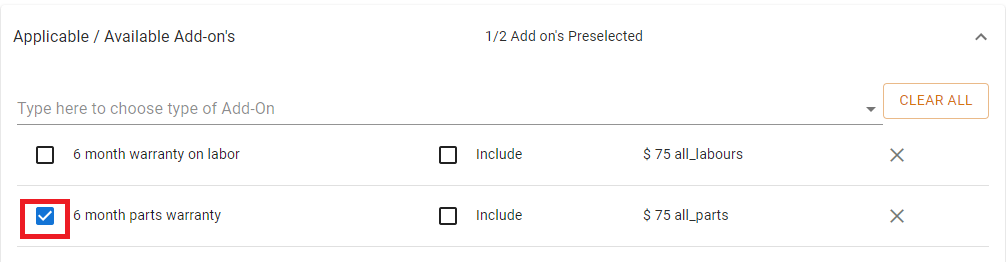
In this case, the customer will receive their bid with the parts warranty already included in the bid. They would have to remove the add-on while reviewing their bid if they wanted to remove it from their bid.
Including an Add-On as a Feature
Again using the example outlined in this article, suppose you wanted to offer the 6 month labor warranty as a free purchasing incentive to your customers for all bids created with the bid template. You can do this by checking the 'Include' box in the middle section of the add-on.
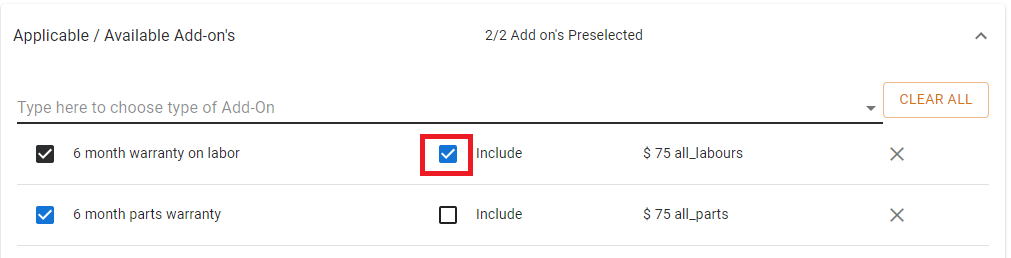
In this case, the customer will receive the labor warranty as a feature of the bid, free of charge, as an incentive to buy.
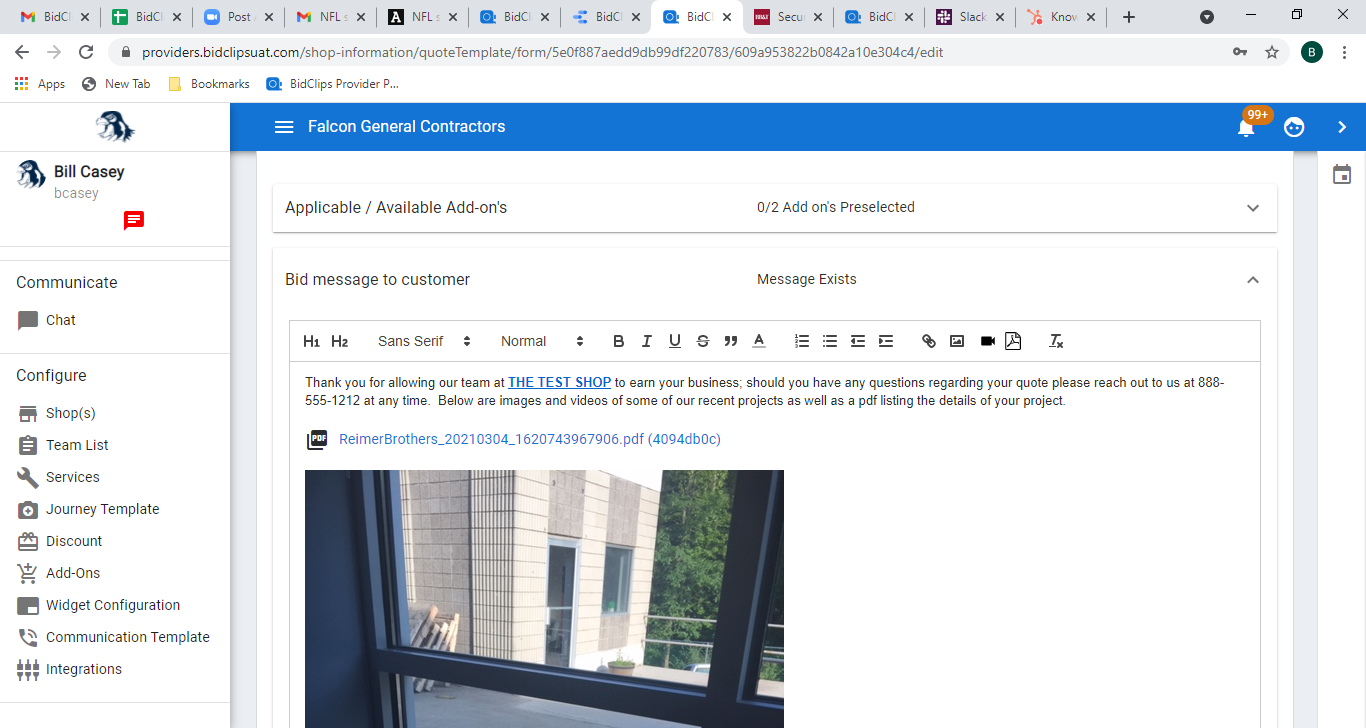
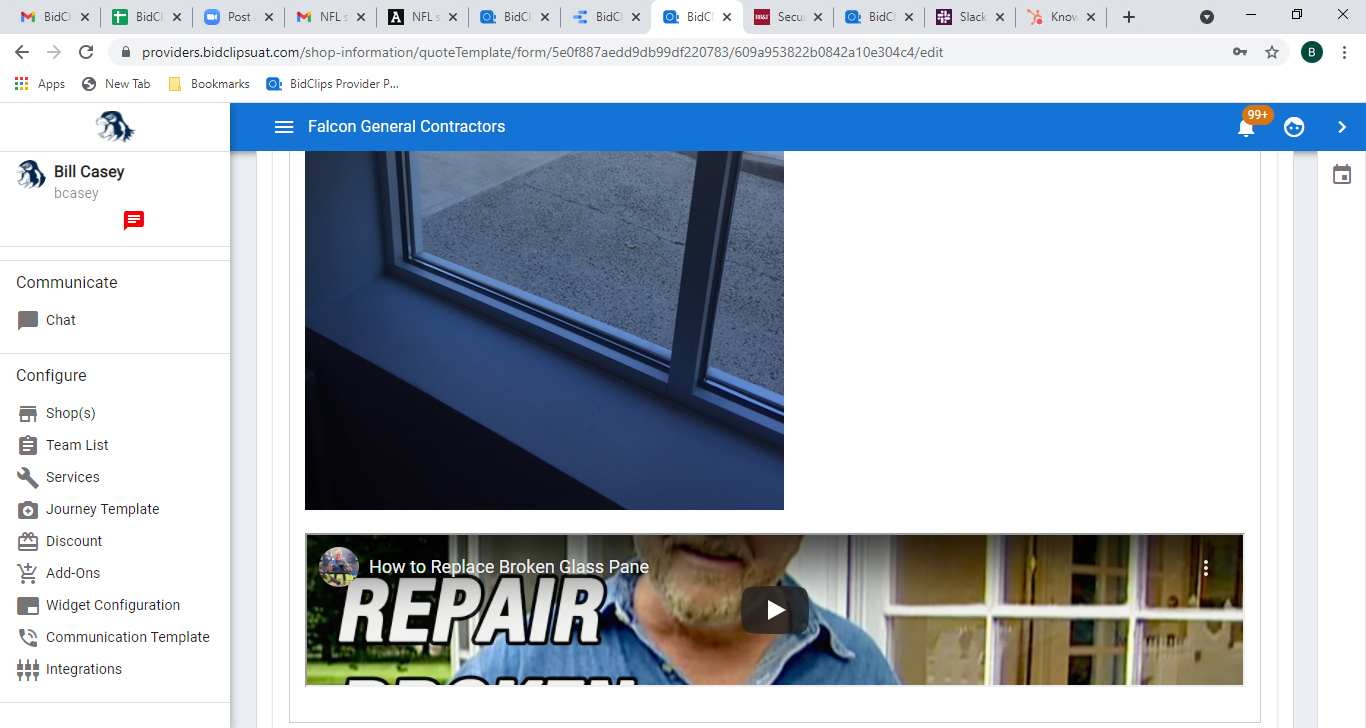
Bid Message to Customer
You are able to add a message to your customer in a Bid Template, just as you are able to do in any bid generated in BidClips. You can also utilize all of the same rich-text editing, web link, image, video, and pdf options that are available in the BidClips platform in your Bid Templates. The example below shows the use of rich-text editing, a web link, an image and a pdf object for this particular Bid Template.
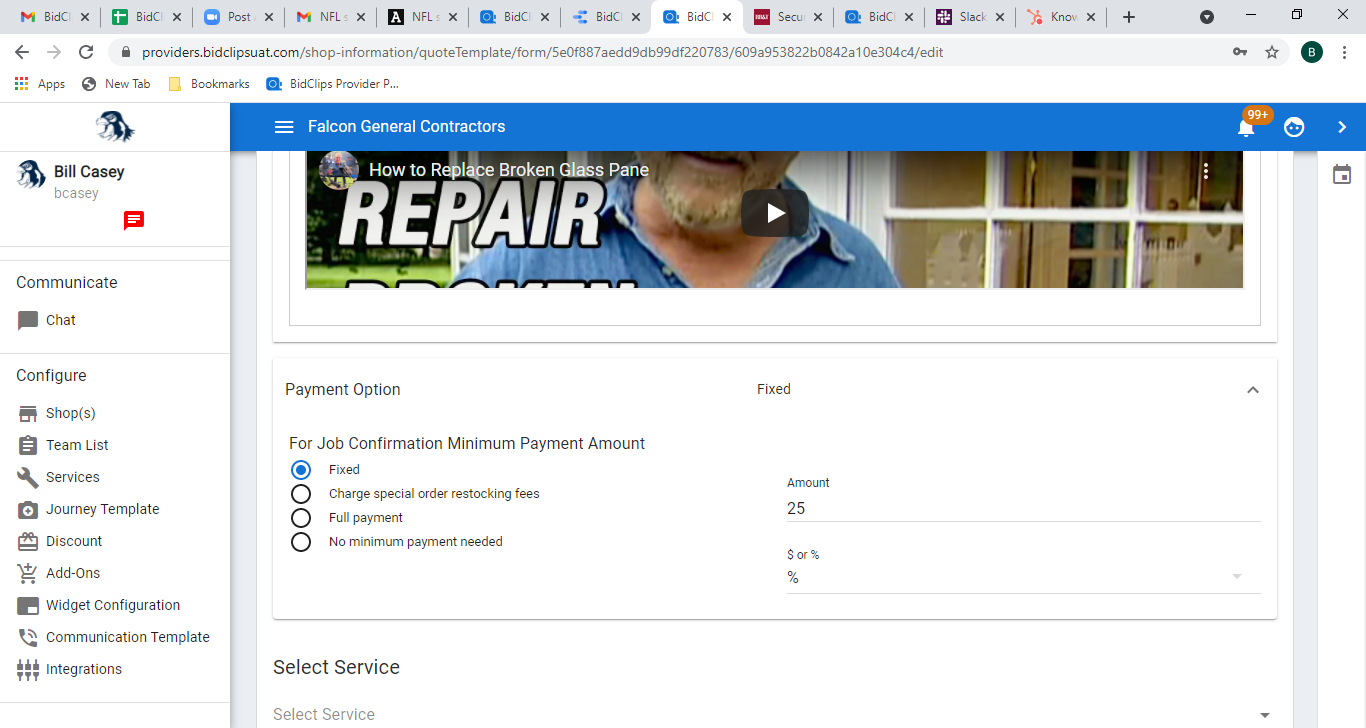
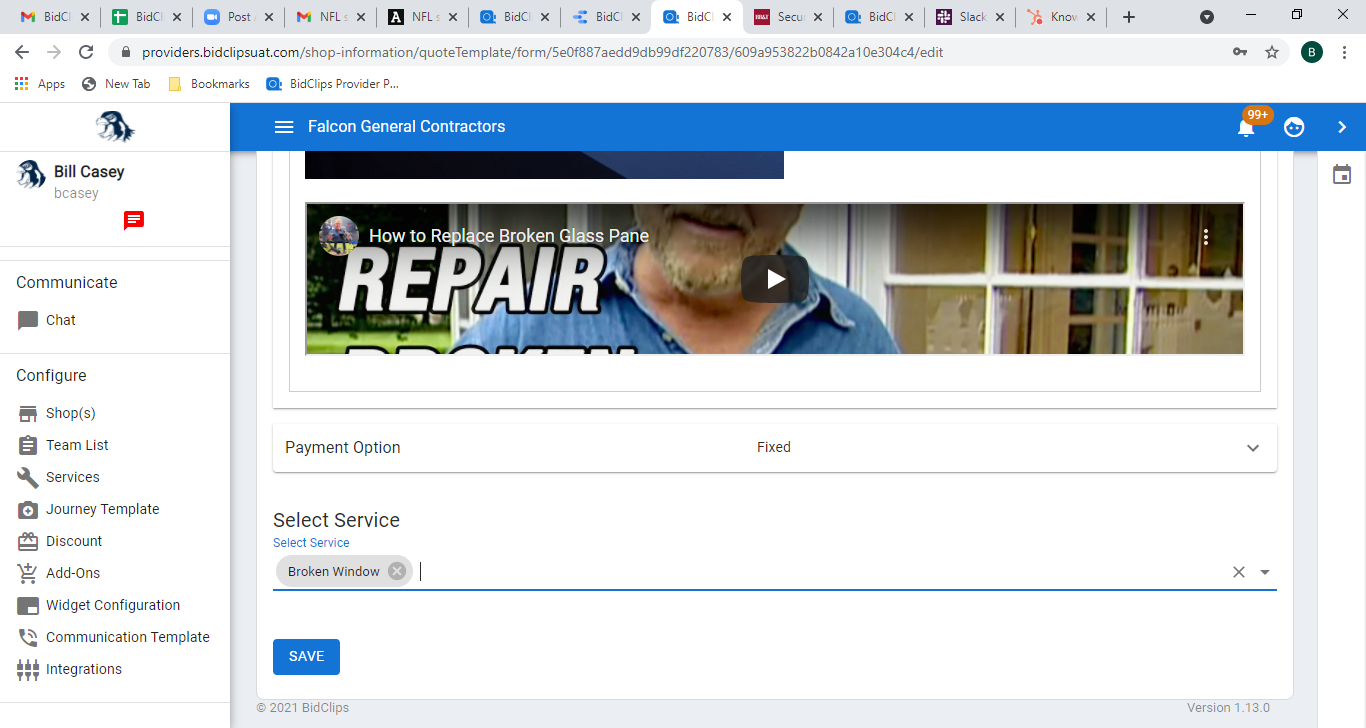
Payment Option
The same payment options that are available for any BidClips bid-fixed price amount (% or $), restocking fees, full payment, or no payment required-can be used in a Bid Template. The default option will be no minimum payment needed when you first create the Bid Template as shown below:

This example shows how you would change the Bid Template to require a 25% down payment to reserve the job. To do so, you would deselect the 'No minimum payment needed' radio button box and select the 'Fix' radio button. You would then enter '25' in the 'Amount' field and select the '%' option from the '$ or %' drop-down list.
 Select Service
Next, you will determine which service(s) you want to associate with this Bid Template. Click on the 'Select Service' field and either select the service from the drop-down list if it appears or start typing a service name in the field.
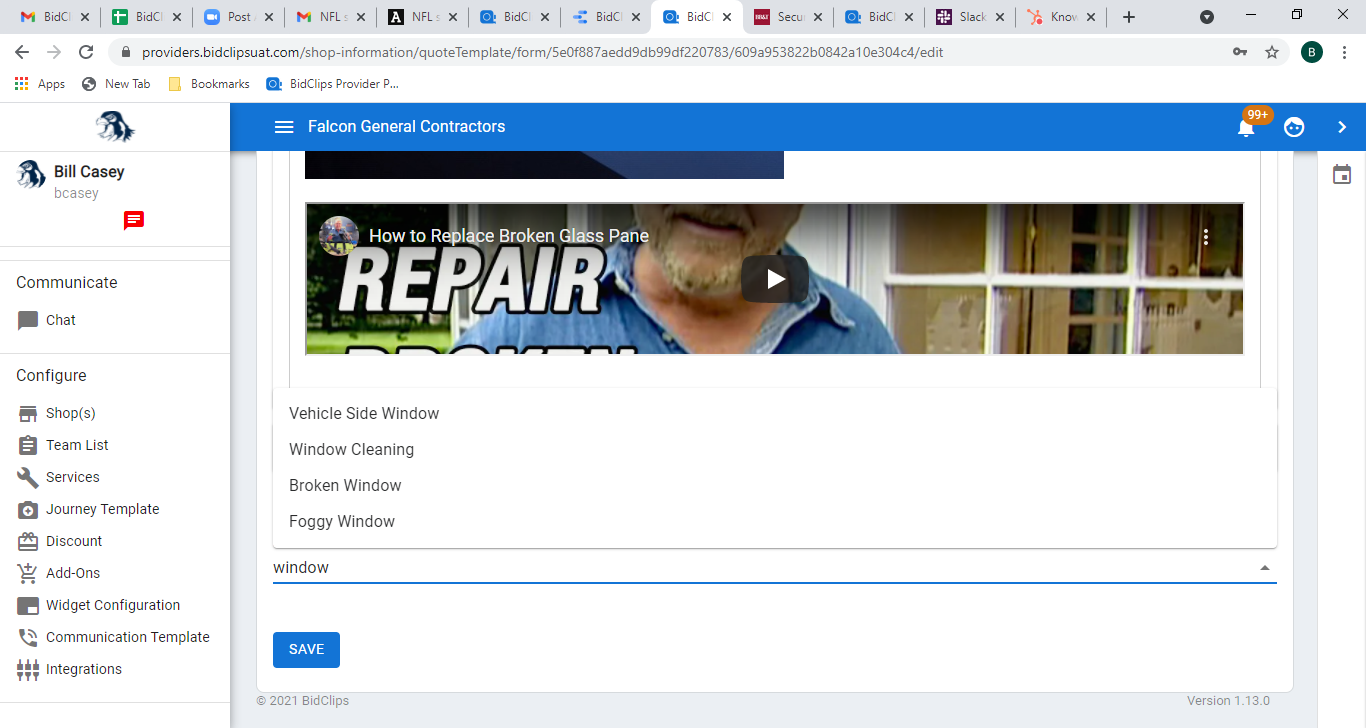
Once you see the appropriate service to be associated with the template, click on it. The example shown below will first associate the template with the Broken Window service.
You can repeat the previous step to associate as many services you would like. If at any time you want to disassociate a service from the Bid Template, simply click the 'X' next to the service name. This example shows one additional service-Foggy Window-being associated with the Bid Template.

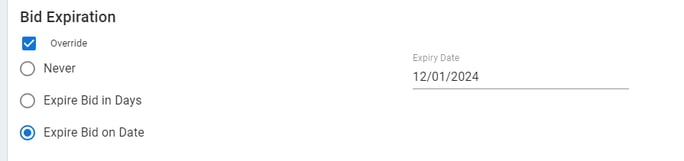
Bid Expiration
You can override the global shop settings or specific shop service settings. At the bid template level you must elect to override the global shop setting and can specify:
- Never
- Expire Bid in Days
- Expire Bid on Date
In this example, we will show an override to have bids created with a specific bid template to expire on December 1, 2024. With this bid template setting all of your bids, created with this bid template, will expire at 11:59pm (shop time) on December 1st unless overridden in the bid at run time.
Example of how a bid expiration, if applied, would appear to the customer in the BidClips widget:

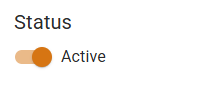
Status
Finally, you can determine if you want to the bid template to be Active or Inactive by using the Status toggle button accordingly.
Save Your Settings
Important!: Please remember, you must click the 'SAVE' button at the very bottom of the Bid Template page before leaving the page. Failure to click the 'SAVE' button before navigating away from the Bid Template page will result in lost work.
Once you click 'SAVE' you should see the following 'Bid Template Created' message appear in the upper right-hand corner of your screen. You have now successfully saved the Bid Template for your shop and it is now available for your sales team to use when creating bids.