How can I process refunds in BidClips and what are some of the general rules regarding refunds?
You have the ability to initiate refunds for credit card payments made or accepted through the BidClips platform.
Some general business rules governing refunds initiated through the BidClips platform:
- Refunds are associated with individual credit card payments.
- You can issue more than one refund against a charge, but you can’t refund a total greater than the original charge amount.
- Once the full amount of any single payment has been refunded, you will no longer have the ability to issue a refund against that payment.
- Refunds cannot be canceled once initiated.
- Refund amounts must be entered as positive values.
- Refunds must be at least $0.50 and may not exceed the original payment amount.
- Other rules enforced by your specific credit card processor may come into play. For example, authorize.net will not allow a refund to be issued against a payment within the first 24 hours or after 120 days from original payment.
- Refunds initiated through the BidClips platform will not be successful if you have switched payment processors since the original payment was made. For example, you accepted a credit card payment via Authorize.net and have since switched to Stripe. You will have to process refunds against any Authorize.net payments outside of BidClips.
How do I initiate the refund in the BidClips platform:
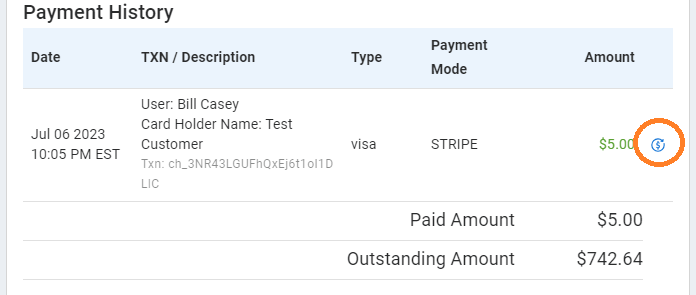
In order to initiate a refund, you will go to the Payment History section within the job details page for a specific BidClips job. Here, you will see the Refund Icon next to any individual credit card payment.
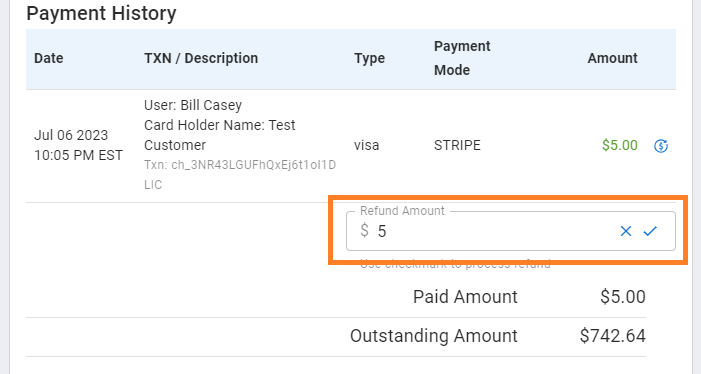
Once clicking on the Refund Icon, you will see the Refund Amount section with a value equal to the non-refunded amount of the original payment pre-populated. You can modify this amount, if desired.
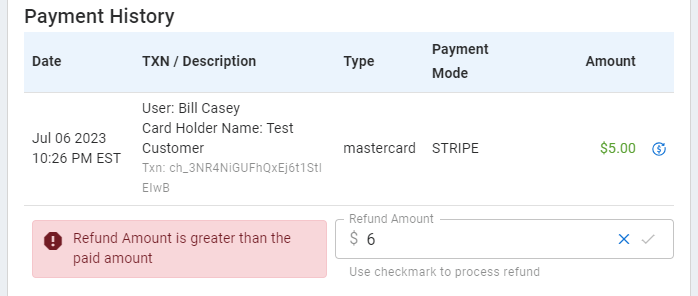
If you enter an invalid value for the Refund Amount (a negative amount, an amount less than $0.50, or an amount greater than the non-refunded amount of the original payment), you will get a visual warning, such as the one below, and not be able to initiate the refund.
Finally, you will use either the checkmark or the "x" button at the right of the Refund Amount box to initiate or cancel the refund process, respectively.

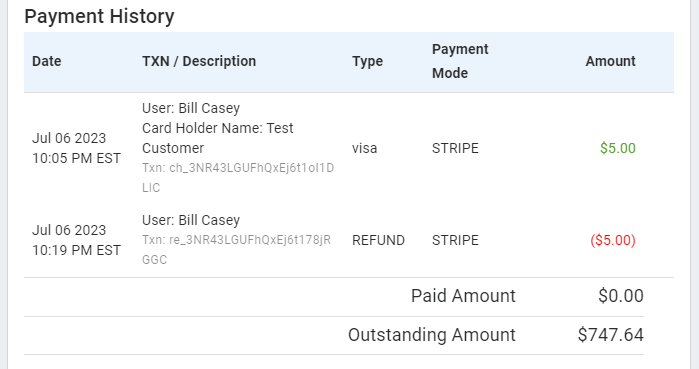
If, at any point, you have fully refunded a particular payment; you will no longer see the Refund Icon available for use.