How do I integrate my Google Tag Manager account with the BidClips widget?
This article will describe the steps necessary to integrate your Google Tag Manager Id into a BidClips widget and create a trigger to use it to build your own tags. The trigger outlined in this article would be used to track web submissions, on your website, from the BidClips widget.
Step 1: Add your Google Tag Manager Id in the BidClips Widget Configuration page.
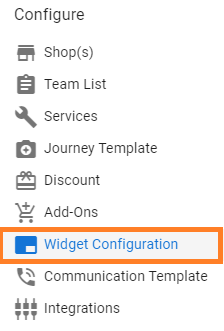
- Click on the Widget Configuration link in the Configure section of the Navigation Menu.
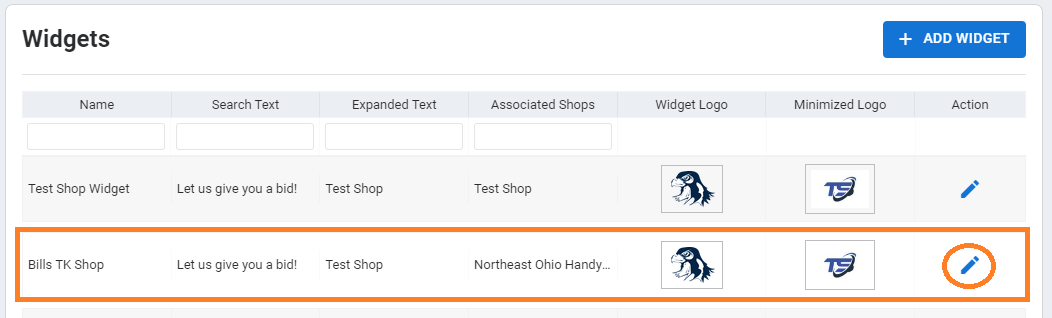
- Select the BidClips widget you would like to integrate with your Google Tag Manager Id
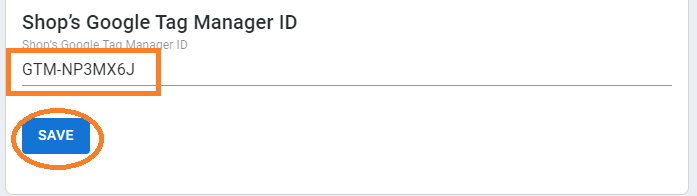
- Scroll down to the "Shop's Google Tag Manager Id" section; enter your Id; and click "Save"
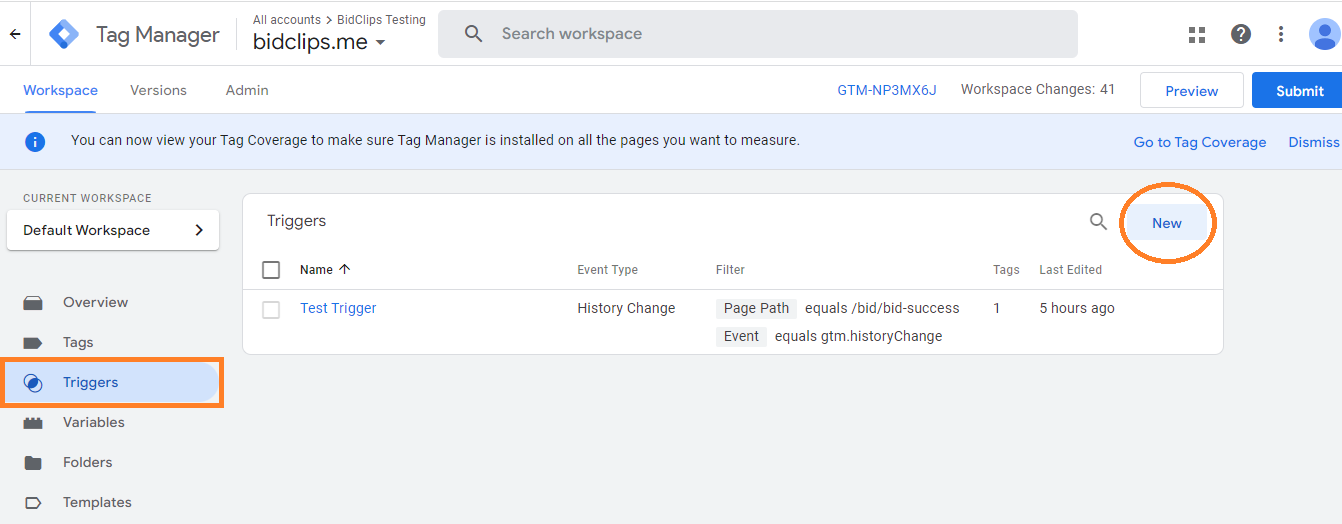
Step 2: Create a Trigger in your Google Tag Manager Workspace
- Select "Triggers" from your Google Tag Manager Workspace menu and click "New"
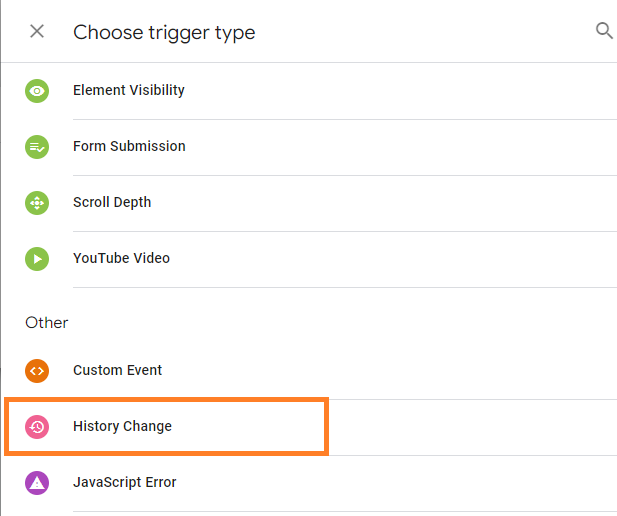
- Choose "History Change" from the list of Trigger Types.
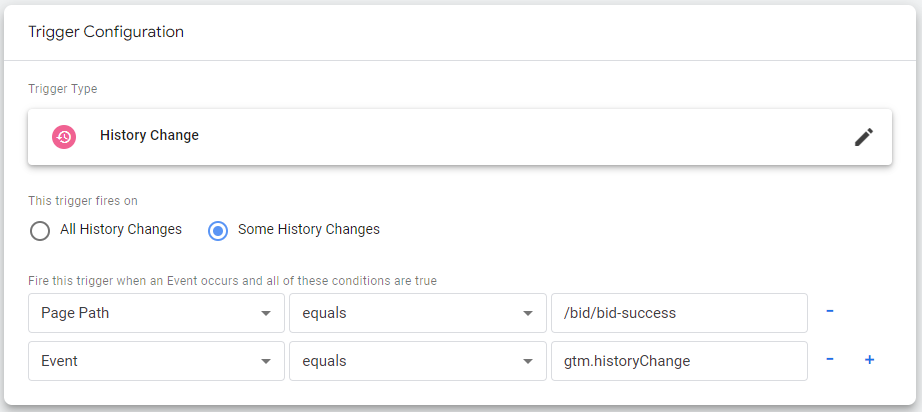
- Configure your Trigger Firing Options and Conditions:
- Fire On: Some History Changes
- Where Page Path equals /bid/bid-success AND Event equals gtm.historyChange
Step 3: Build your own tags using the configured Trigger
Now that you have successfully integrated your Google Tag Manager Id into the BidClips widget and configured the correct trigger, you can build your own tags.
Note: It may take up to an hour for the BidClips widget integration to be fully instantiated in your Google Tag Manager workspace.